"Make me want to obey You rather than be rich.
Take away my foolish desires and let me find life by walking with You."
~ Psalm 119:36-37

Wednesday, June 9, 2010

Germination Station

*I’m a slacker….I just realized that I never published this blog entry about my germination station…now, my plants are transplanted and growing like CRAZY in the gardens out back.  I’ll have to do a REAL update on the progress this week.*

I don’t know if I stole the term “germination station” from somewhere or not…but it’s pretty funny.  Don’t get too excited about the presentation of the germination station…it’s quite ghetto!  (but definitely effective – and cheap since it cost me $22   TOTAL)

  • $7 replacement florescent bulbs for my 4’ shop lights(mine were black lights from a church presentation thing)
  • $5  timer for “grow lights” (because there’s no way I’d remember to turn them on and off at the same time every day)
  • $10 2 mini green houses (black tray, black tray with drainage, cell pack, clear dome lid)

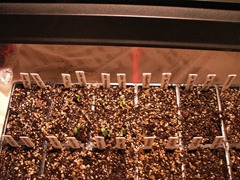
And THIS is it:

[pic of germ. stat.]

(Well, this is the finished product of the “heat lights”.)  I should take a pic of the whole setup with the “grow lights” too. 

The whole setup can be reused next year (after sanitizing the mini greenhouses with a bleach/water mixture), so that’s a SUPER inexpensive initial investment I think!!!

My last gardening post I mentioned that pics of my little seedlings were coming soon  (left you hanging didn’t I…bet you’re glued to your computer chair huh?) .

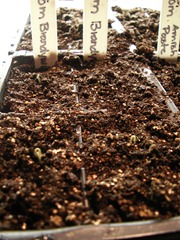
Germination Station - we have green (1)   

Tray 1 of 2 (cucumbers, squash, some flowers, herbs, jalapenos)

Germination Station - we have green (20)

Cucumbers (tendergreen & National Pickling)

Germination Station - we have green (21)

My friend, Ali, says that people start their own seeds because of cucumbers!  She said, “After 2-3 days of waiting on dirt, they sprout and give us hope for the slow pokes.” (or something like that).  When I saw those first little leaves poking out, I felt like doing a celebration dance.  I’m pretty sure there was clapping and some whooping going on in the germination station area of the garage on seed spouting day.  :o)

Germination Station - we have green (27) 

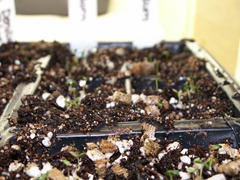
Tray 2 of 2 (Tomatoes, tomatoes, more tomatoes, and some Alyssum flowers)

Germination Station - we have green (37) 

The Alyssum

Mr. Handsome is going need to hang my growlights from a “permanent” location because they’re getting sooo tall.  Right now, they’re just sitting on top of 6in pieces of wood (which has/will work fine until about Sunday or Monday.)

About our garden boxes, they are still empty (of plants/seeds) but all that’s going to change today.  It’s supposed to be unbelievably gorgeous outside today, so in goes the lettuce/spinach/carrots/onion sets.  I started onions from seed too, but none of my gardening family/friends had done that before and I was a bit uncertain of the outcome, so I bought some sets too.  So far, the onions have come up…kinda droopy yesterday (but that’s because I didn’t check the water the day before and it was pretty WARM in the germination station area of the garage yesterday afternoon.  So, hopefully, after a little drink, they’ll perk back up.

Back to dirt, we filled the last 2 boxes last Saturday with 4 more batches of Mel’s Mix.  We needed some additional “poo”/compost and other dirt ingredients:

  • 2 bales 3.0 cu ft peat moss (Lowe’s) $8.96
  • 4 Black Kow manure (Local Garden Center) $4.25
  • 6 Manure compost & humus mix (Lowe’s) $1.47
  • 4 organic soil conditioner (Lowe’s) $2.68
  • 4 vermiculite –they were out of coarse, so I had to get fine, which we liked the use of more but we’ll see the outcome of the “dirt” once planted (Local Garden Center) $12
  • 3 mushroom compost (Local Garden Center) $3

Because of the “fine” vermiculite, it seems to fill the boxes with less “dirt” so we had a bit left over.  We put part of it in a rubbermaid-like tote to use as potting soil for my transplants (which will not be too long) and the other part we split into 2 pots for my daughters K(3) & C(1) to have their own “garden” spot.  (Really, this is so they can dig in their own dirt and leave my plants and dirt ALONE!!)
Yummy for dinner…

Beef & Broccoli Stir Fry

  • 2 T teriyaki sauce (or soy sauce)
  • 1/4 t crushed red pepper  (the orig. recipe called for 1/2 t but my girls think it's too hot.)
  • 1 lb (ish) cubed steak
  • 1 T olive oil
  • 1/4 c water
  • 1 garlic clove, minced
  • 1 small onion, minced
  • 3 c broccoli (or any veggie combination...we usually use broc/cauliflower or whatever veggies are in the crisper)
  • 6 oz cooked pasta (we usually use angel hair or spaghetti - whatever we have)

MEAT MARINADE PREP:  Lay out steak between 2 pieces of saran wrap so there's space between the steaks.  (you can sprinkle the meat tenderizer seasoning stuff on it if you have it...my mom does, but i never think to buy any, so we've never used it.)  Using a meat "beater" (I think the official term is meat tenderizer), pound the steaks until very thin. *You do this to help break down the meat since it's a lower quality than other steaks and, therefore, NOT as tender...thus the name - meat tenderizer.*  After pounding thin, cut steak into strips or bite sized pieces and toss in a bowl with 2 T teriyaki sauce, water & red pepper.  (Don't be scared to add more teriyaki sauce than called for...the more teriyaki/soy sauce...the better.)  Cover, shake well & refrigerate 20 min or till whenever (again, the longer, the better.)  Take it out and shake it occasionally to mix all the yummy goodness together. 

When ready to prepare, cook the pasta and rinse with warm water, set aside.  Cook broccoli (or veggie blend) separately if you don't like it crunchy.  Heat oil in skillet, add garlic, onions, & raw veggies (if you didn't cook them separately) and steak WITH the marinade too.  Saute bout 8-10 min or until meat is done and veggies are tender.  Stir in noodles & more teriyaki/soy sauce if you want.

We LOVE LOVE LOVE to fix this for company because you can use the same amount of meat, just add more veggies & pasta, and it goes A LONGGGGG WAY!!!  (So don't be surprised if you have it for dinner over here sometime.  ;o)

**Adapted from Sept/Oct 2004 Weight Watchers Magazine**

Thursday, June 3, 2010

Growing our food…

In this whole process of eating more whole foods (in order to…eventually…go TOTALLY whole foods), I’ve stumbled across the most inspiring family. 

Dervaes Family Urban Homestead

You really MUST check out the amount of food they grow on their TINY piece of the world.  Like I said….very inspiring.  And here we are…trying to move to more land in order to have bigger gardens (and to be “allowed” to raise chickens!) If you’ve ever wondered if you have space to grow ANY food…you need to check the Little Homestead in the City.

Wednesday, June 2, 2010

A little birdy told me…

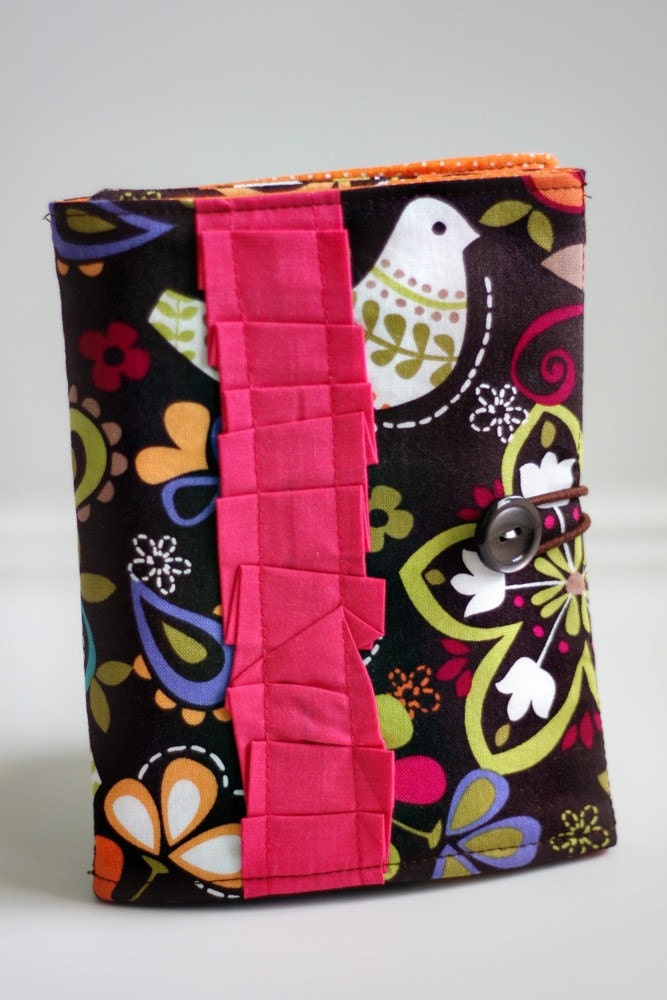
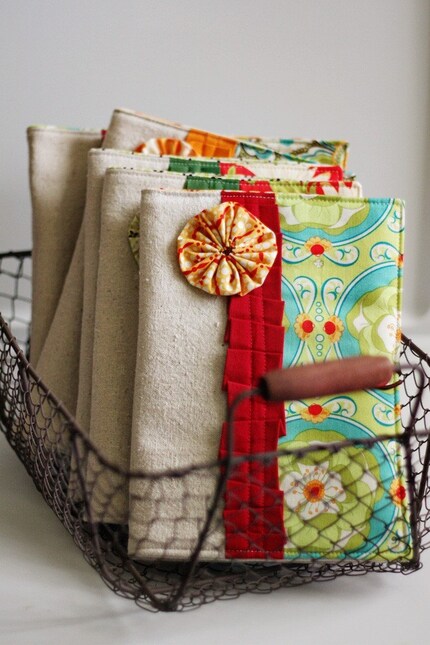
Happy Little Picture Keeper w/ Ruffles

…that this has to be the cutest thing EVER.  K & C would LOVE, LOVE, LOVE to own one of these “Happy Little Picture Keepers”.  Best part about it…

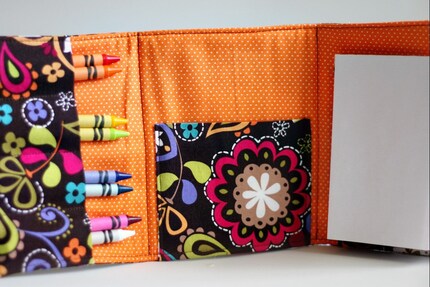
Happy Little Picture Keeper w/ Ruffles

…it opens up to hold crayons, paper, and a pocket for the crazy amount of random stuff they carry with them at ALL times (especially K!!!)

Now this…this is for me:

NEW Ruffled Happy Little List Taker (Ready to Ship)

(and I wonder where K gets her love for all things paper?) I am in LOVE with journals and things to hold lists….like this “Happy Little List Taker.”

You NEED to see the other ridiculously cute things in Andrea’s Etsy Shop.  Wanna chance to win one??  Do it.

Swidget 1.0

Path to Freedom

Garden Time